How Can We Help?
You can upload an image file of any size as your logo in 3 different areas; the default logo, the sticky & transparent header logo, and the mobile logo. This gives you the flexibility to adjust your logo depending on where it’s displayed. Noor is also retina ready, so there are additional options to upload a retina 2x logo for high-resolution devices. Additional Noor is Multi-language (RTL/RTL) ready, so there are additional options to upload an RTL logo for the RTL version. Please read below for more information on logos and the different areas you can display them in, favicons, as well as the styling options available.
1. Noor allows logos to be retina ready, however, they are not required to be used. If you do not upload a retina logo, then the default normal logo will be used on all screens.
2. Noor allows RTL logos, however, they are not required to be used. If you do not upload an RTL logo, then the default normal logo will be used on all screens.
Available Logo Areas
- Default Logo Fields – Upload a default logo that will be displayed in all areas (Default/Sticky & Transparent /Mobile) unless a unique logo is uploaded to the sticky header and/or the mobile header logo option.
- Sticky Header Logo Fields – Upload a unique logo that will only appear on your sticky & transparent header. This is optional.
- Mobile Header Logo Fields – Upload a unique logo that will only appear on mobile devices. This is optional.
How To Upload A Default Logo
Step 1 – Navigate to WP Dashboard > Appearance > Customize.
Step 2 – On the Customize page navigate to Header > Logo.
Step 2 – Locate the ‘Upload Your Default Logo’ option and click the ‘Select image’ button to upload your logo image file.
Step 3 – This step is optional. You can upload a default retina logo for retina-ready devices using the ‘Default Logo (Retina Version @2x)’ option.
Step 4 – Click ‘Publish‘
IMPORTANT NOTE The retina default logo dimensions must be exactly twice that of your standard logo. For example, if your standard logo is 80px x 80px, the retina version of your logo must be 160px x 160px
How To Upload A Sticky or Transparent Header Logo
IMPORTANT NOTE Uploading a sticky header logo is optional. If no unique logo for the sticky header is uploaded, the default logo will be displayed instead.
Step 1 – Navigate to WP Dashboard > Appearance > Customize.
Step 2 – On the Customize page navigate to Header > Logo.
Step 2 – Locate the ‘Upload your logo for sticky & transparent menu’ option and click the ‘Select image’ button to upload your logo image file.
Step 3 – This step is optional. You can upload a default retina logo for retina-ready devices using the ‘Default Logo (Logo for sticky & transparent menu (Retina Version @2x))’ option.
Step 4 – Click ‘Publish‘
IMPORTANT NOTE The retina default logo dimensions must be exactly twice that of your standard logo. For example, if your standard logo is 80px x 80px, the retina version of your logo must be 160px x 160px
Logo Width
Logo Width – Controls the logo width by pixel the default value is 107px.
Favicon Options
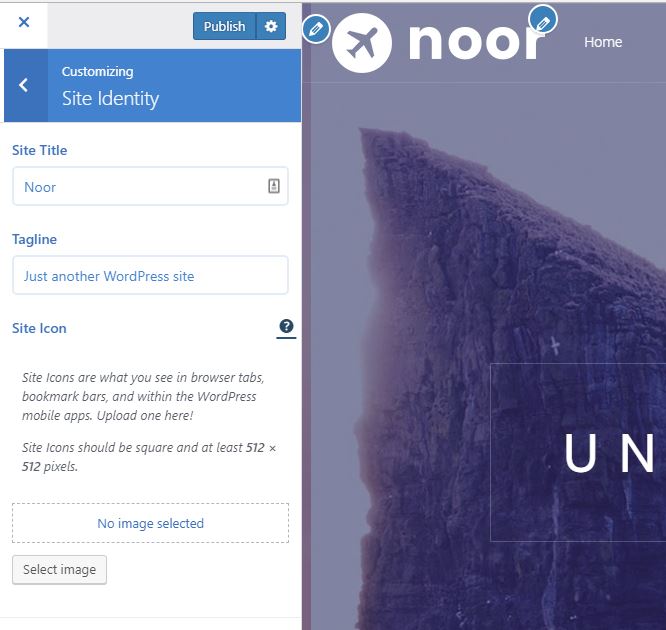
WordPress Version 4.3 implemented the Site Icon feature that enables favicon on your website. When you use it, you don’t need to prepare the favicon.ico file by yourself or modify your template file, just specifying a square image that has at least 512 pixels wide and tall from the Customizer screen.
Follow the below steps to set favicon on your site.
- Prepare an image file. It must be square, and at least 512 pixels wide and tall.
- Go to Administration Screen > Appearance > Customize
- Click Site Identify
- Click Select Image at Site Icon section, upload the image file you prepared in the above step from Upload Files tab screen, and click Select.