How Can We Help?
In addition to a choice of header layouts, Noor also has sticky header options. For improved usability, as the user scrolls down a page, the sticky header activates ensuring the website’s primary menu is always accessible. To manage the sticky header, Noor includes several options for styling and animated the menu, as well as visibility options to enable or disable it on various screen sizes.
How To Setup The Sticky Header
Step 1 – Navigate to the Appearance > Customize > Header > Sticky Header .
Step 2 – To enable/disable the Sticky Header, find the ‘Sticky Header’ options and set it to Headroom or Sticky or Sticky (Animated).
Step 3 – On this tab are also options to enable/disable the sticky header on mobile devices.
Step 4 – Sticky Header Logo – Upload a custom logo unique to the sticky header. You can do this in the Appearance > Customize > Header > Logo and find “Upload your logo for sticky & transparent menu”.
Step 5 – Click the ‘published’ button.
Sticky Header Theme Options
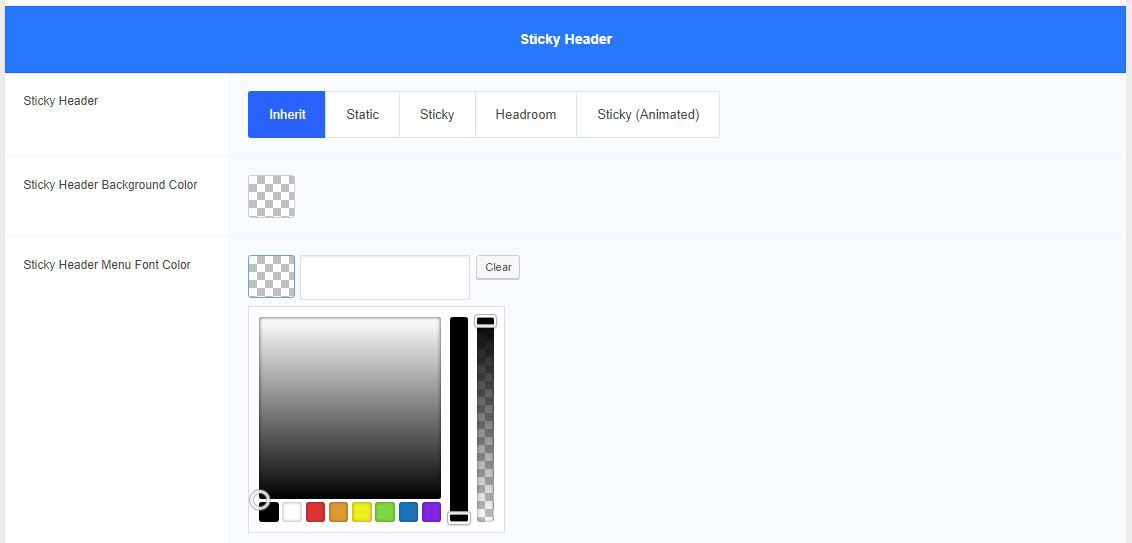
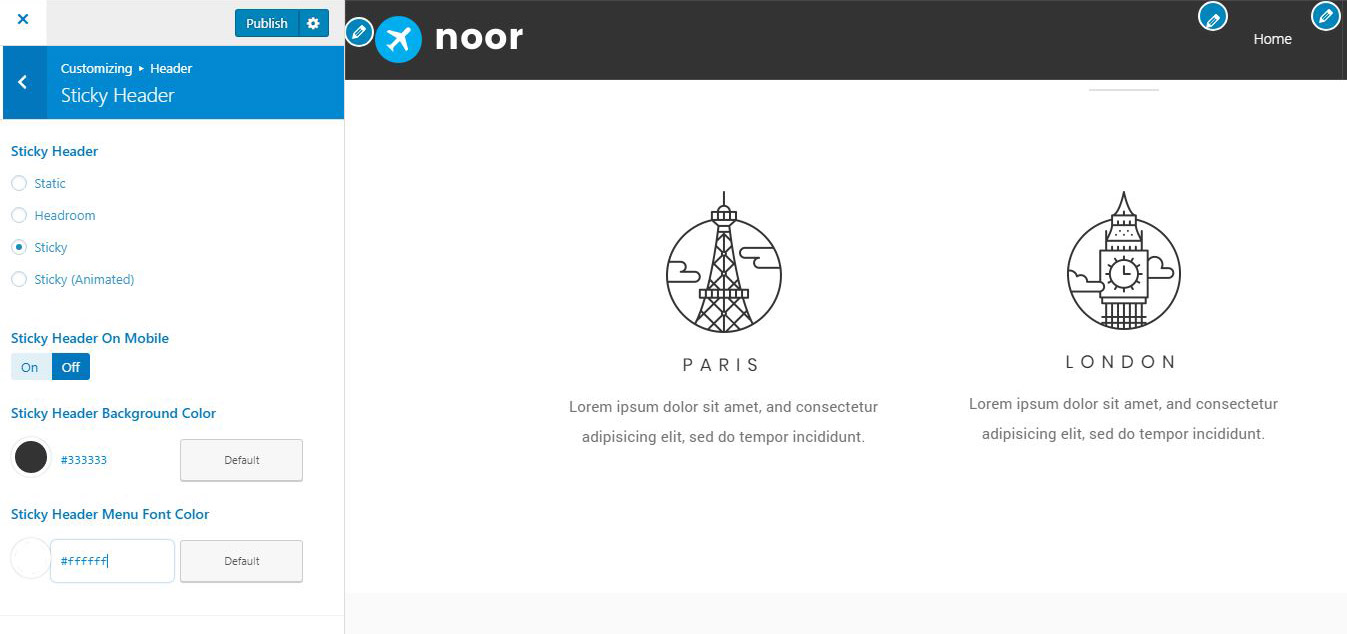
A. Sticky Header:
- Static: Keep the menu static on the top.
- Headroom: Turn on allows you to bring the header into view when appropriate, and give focus to your content the rest of the time.
- Sticky: Turn on keep the primary navigation in close proximity to the user.
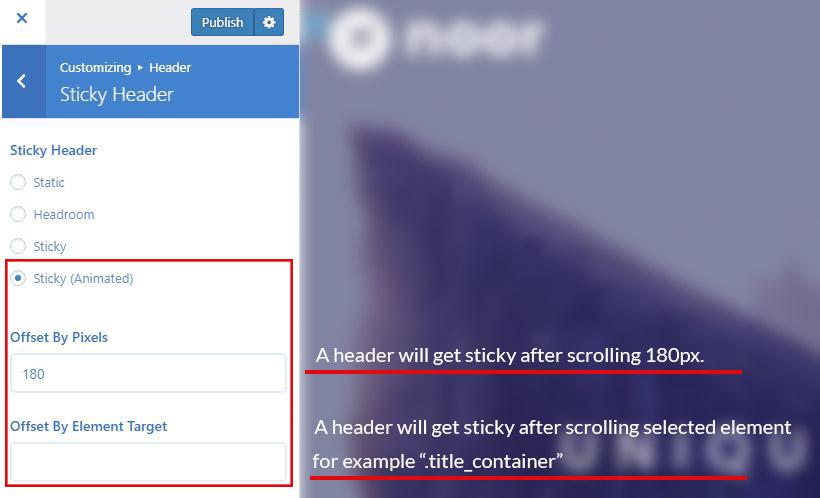
- Sticky (Animated): Turn on keep the primary navigation in close proximity to the user with offset by your chose offset by pixel or offset after an existing element by the element class name.
B. Sticky Header Background Color – Choose a background color for the sticky header.
C. Sticky Header Menu Font Color – Controls the color for main menu text in the sticky header.
D. Sticky Header On Mobile – Turn sticky header on mobile On or Off.
How to set up different Sticky on a per page basis
Sometimes you want to apply the sticky only on your homepage or for a specific product( It’s good for Multi-landing pages).
In order to use a different sticky option to your special page, follow these two steps:
Step 1 – Open your page’s edit screen. If you have not created it so far, navigate to the Pages section of your admin, and click the Add New option.
Step 2 – Scroll down to find the Dima Page Settings box, and open menu tab and find the Sticky Header section, in this section make your changes and save the page.