How Can We Help?
You won’t need to edit the core theme files to translate the theme strings, you can do this easily via Loco Translate plugin from your admin WordPress dashboard.
![]()
To install Loco Translate plugin, on your admin dashboard follow these instructions:
- Navigate through Plugins > Add New
- On the top right section, there is a search bar where you need to type Loco Translate, once you found it click Install and then Activate it on your site.
Loco translate will translate the theme strings only. To translate the whole WordPress posts and pages you will need a multi-lingual such as WPML, see how to translate the site.
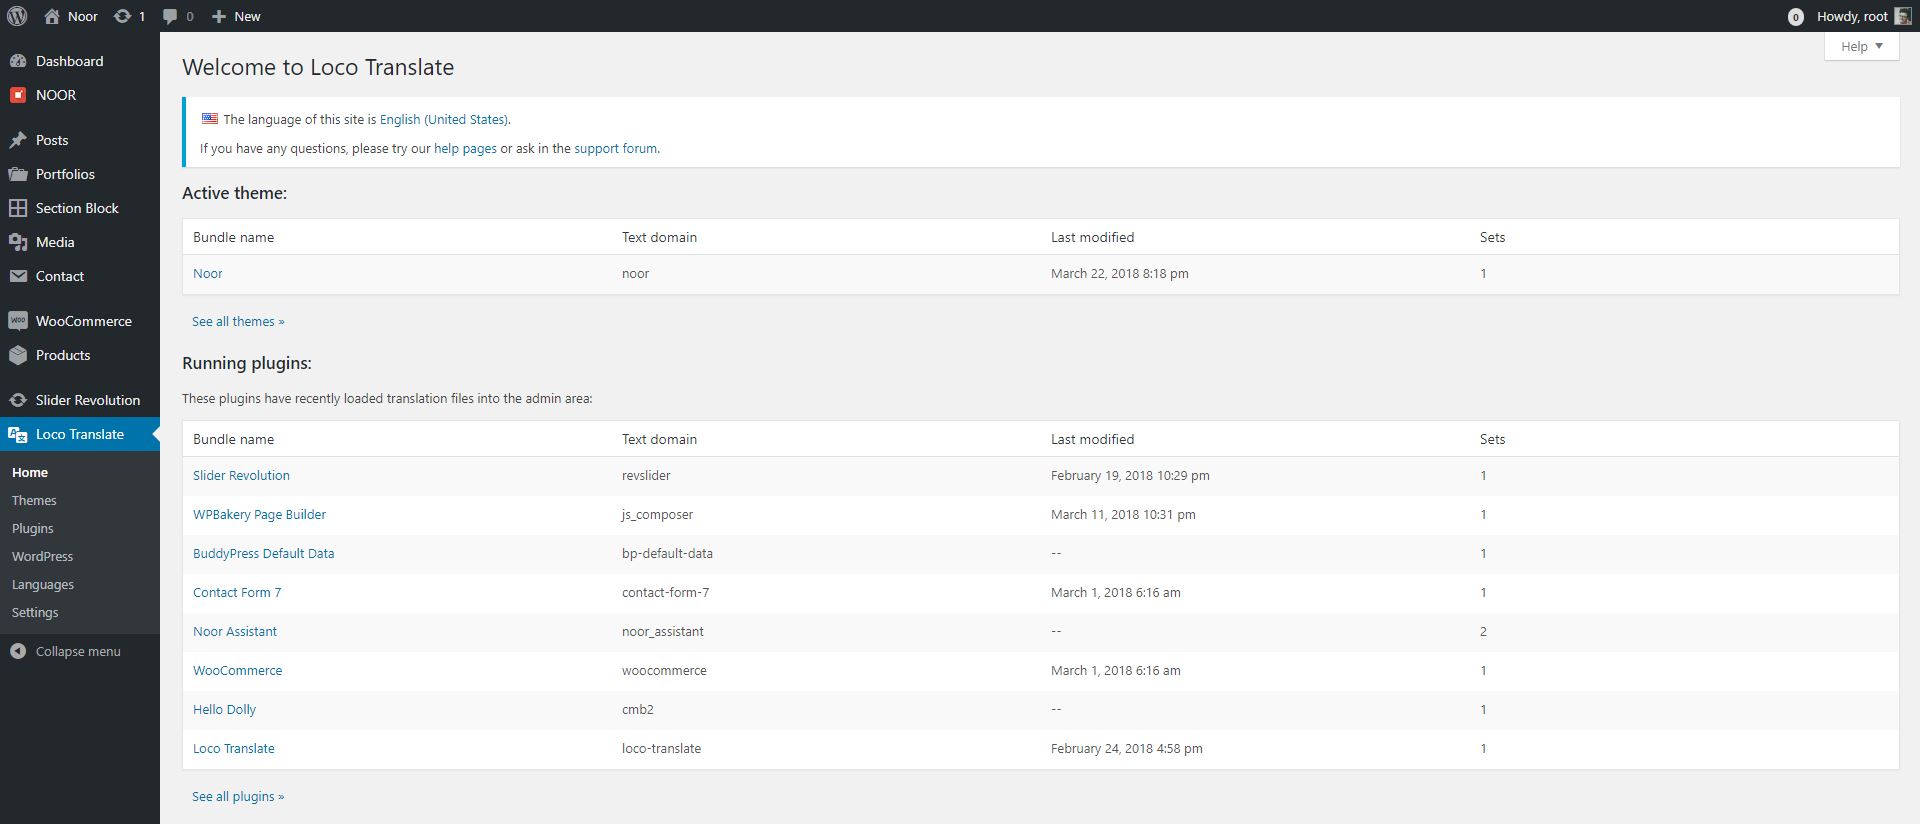
How do I translate Noor with Loco Translate
You’re ready to start translating the theme now that you’ve installed and activated Loco Translate:
- In your admin dashboard on the sidebar click Loco Translate
- Select Noor from the Active theme section.
If you have a shop installed, select WooCommerce and translate the strings you can’t find in Noor. - Click on New language to start translating the theme now.
Select a language you want to translate by choosing one in the Choose a language section. - In Choose a location you will have to set the tick to System and click on Start Translating.
- Now that you’re into the translation select any of the words you want to translate select words from Source text list.
- If you can’t find a word, use the search tool Filter translation to find a word you need to translate.
- Scroll down and type the translated version into French* translation area in our case.
- Click Save and that’s it, you’ve translated your first word using Loco Translate.
To see the results live to go to Settings > General and make sure you change the Site Language to French*.
French can be any other language, we used French for our testing purposes.