How Can We Help?
The Page Title Bar is the horizontal bar that sits directly below the menu/header and contains the page title text, as well as breadcrumbs. The page title bar can be completely displayed or hidden on every page or post globally, or you can display or hide it individually per page or post. There are also numerous options to customize the page title bar. The page title bar has global options found in the Appearance > Customize > header > Page Title Bar panel and individual options in the Dima Page Settings found in all pages and posts that will override global settings.
How To Setup The Page Title Bar Globally
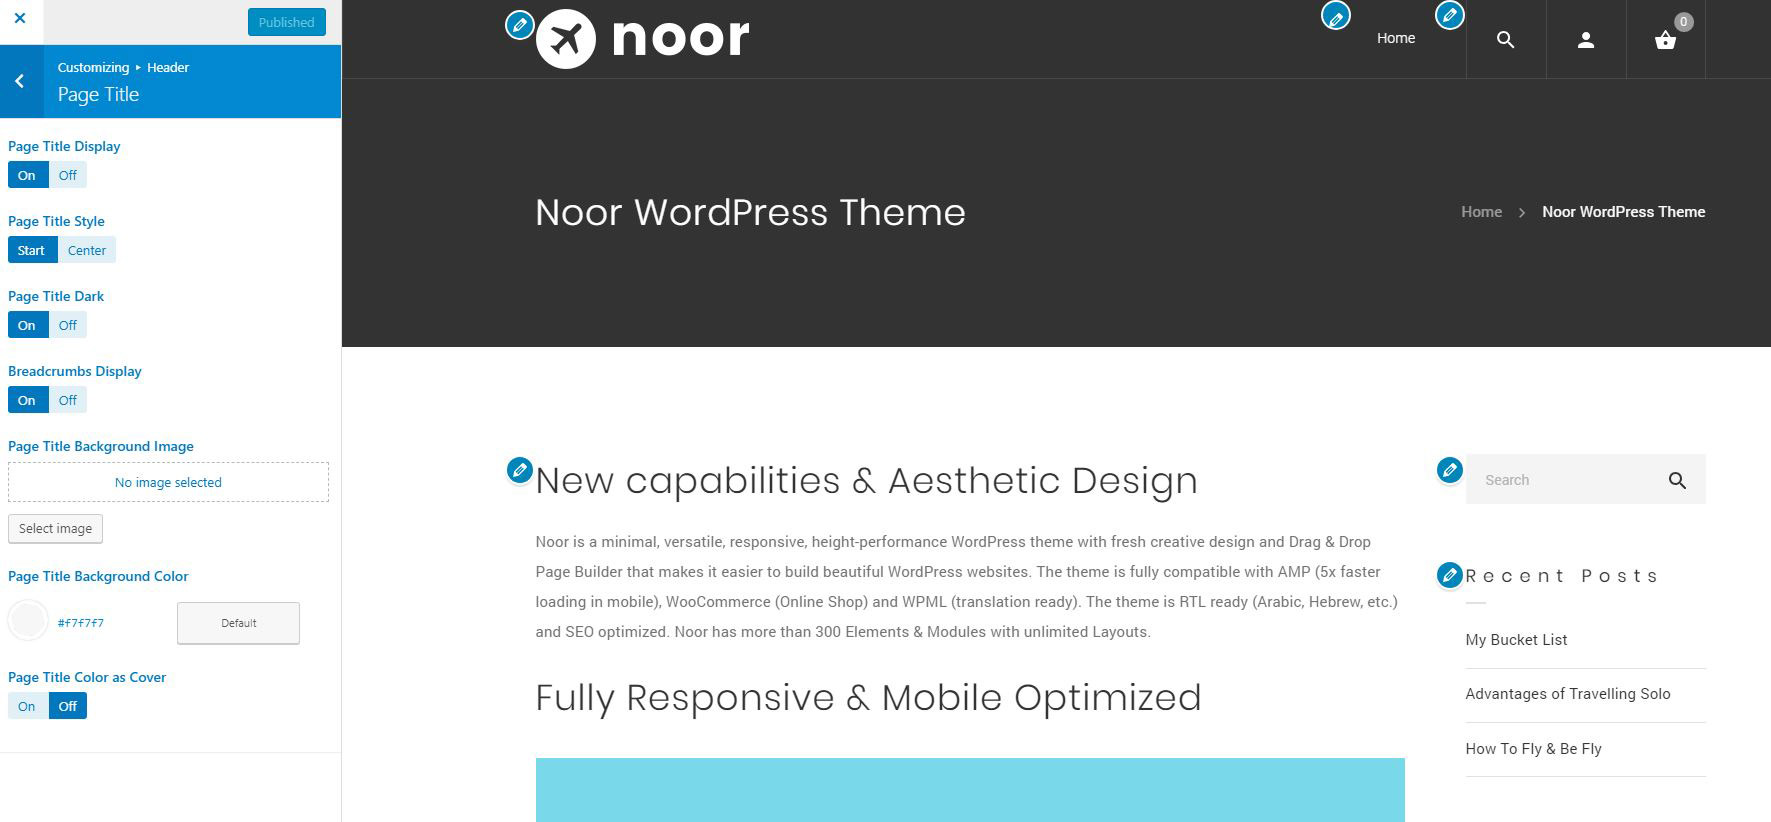
Step 1 – Navigate to the Appearance > Customize > header > Page Title Bar panel to access the page title options.
Step 2 – Locate the ‘Page Title Display’ and select either the On or Off to enable the Page Title Bar.
– In the Page Title panel, you can also customize other options such as page title styling, background color and image, and the text color.
-In Noor 3.0 you can change page title Padding top and bottom from Page Title Padding.
Step 4 – You can show/hide breadcrumbs on the right side or on the Center it depends on the page title style Start style or Center Style. To choose which one, navigate to the ‘Page Title Style’ option.
These settings will take effect for all page title bars on your site. To set different settings per page or post, please see the following section.
How To Set The Page Title Bar Per Page/Post
Step 1 – Create a new page or post or edit an existing one.
Step 2 – Scroll down the page to find the ‘Dima Page Settings’ box and find the ‘header’ tab > ‘Page title’ section.
Step 3 – In this tab, there are numerous options that you can set to customize the page title bar per page or post. You can show or hide the page title bar per page/post, enter custom title text or subhead text, choose custom background image or color, set parallax effect. All of those options will take effect for the individual page or post you set them on.

Step 4 – When finished, make sure to save the page or post by clicking the ‘Save Draft’ or ‘Publish’ button.