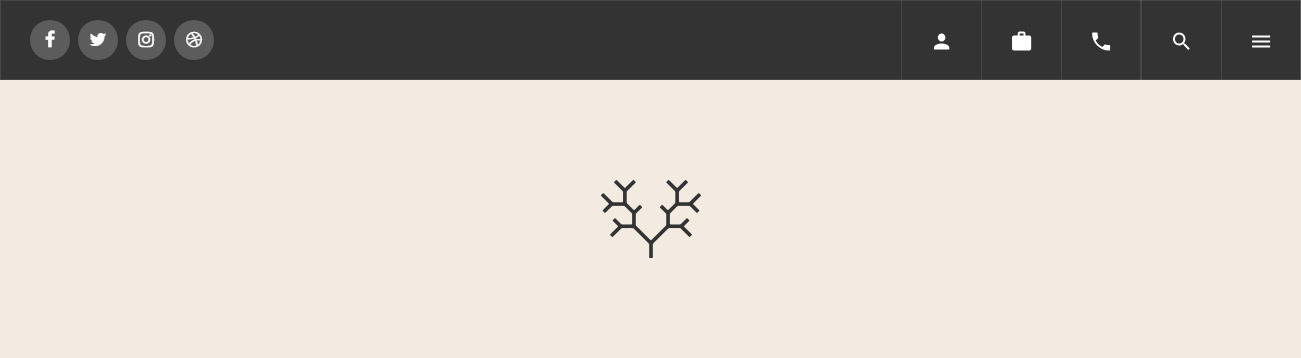
How Can We Help?
Top Header Position
When setting up a header in Noor, you can use Top, Left or Right header. In this article, we’ll be focusing on the Top Header Position and the different layouts and options you can set for them. We’ll also cover some styling options and how this affects your site. Continue reading below to learn more about the top header position.
Top Header Position Setup
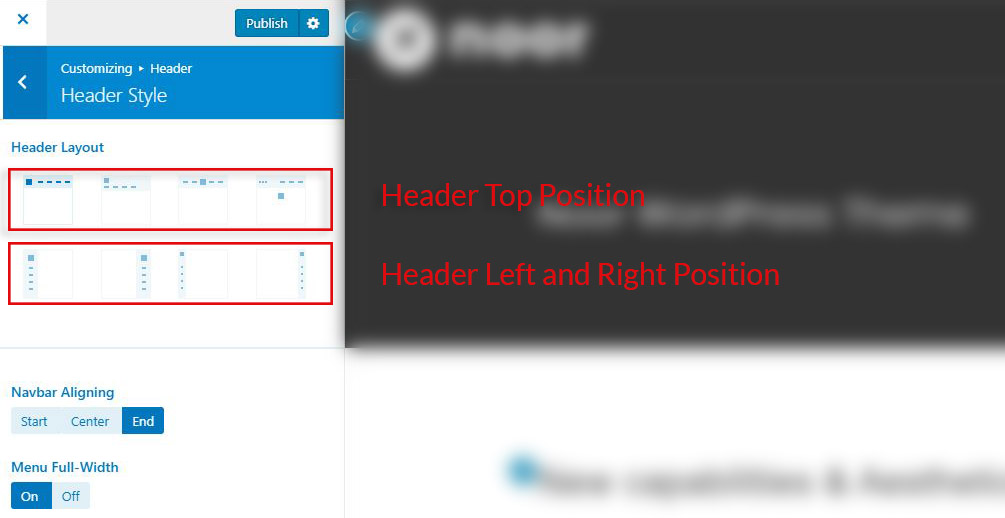
Setting your header to the Top position from your header layouts options allows you to choose header layouts (8 to choose from), the first 4 layouts will display it and the menu items horizontally on your site.
Step 1 – Go to Appearance > Customize > Header > Header Style.
Step 2 – Locate the Header Layout option and choose one from the first 4 layouts.
Step 3 – Thereafter you can change the aligning, phone number and email address for contact info. For a more in-depth description of these options, please continue reading below.
Step 4 – Click ‘Publish’
Top Header Styling
For header styling options please go to Appearance > Customize > Header > Header Style > Header Style & Layouts. You can Change your font family and font style here Appearance > Customize > Typography > Navbar.
If header background Color opacity is set to anything less than 1, your background image and your header height will be removed completely. If you’d like to read about Position & Transparency.
Top Header Layouts
Below are the 4 Top Header layouts to choose from. Each layout is unique and offers plenty of options that will let you create other styles. Please continue reading below to learn more about each layout.
Top Header Layout #1
This layout includes your primary menu and Icon menu items and your logo, a search icon (ON/OFF), and a hamburger icon (ON/OFF).
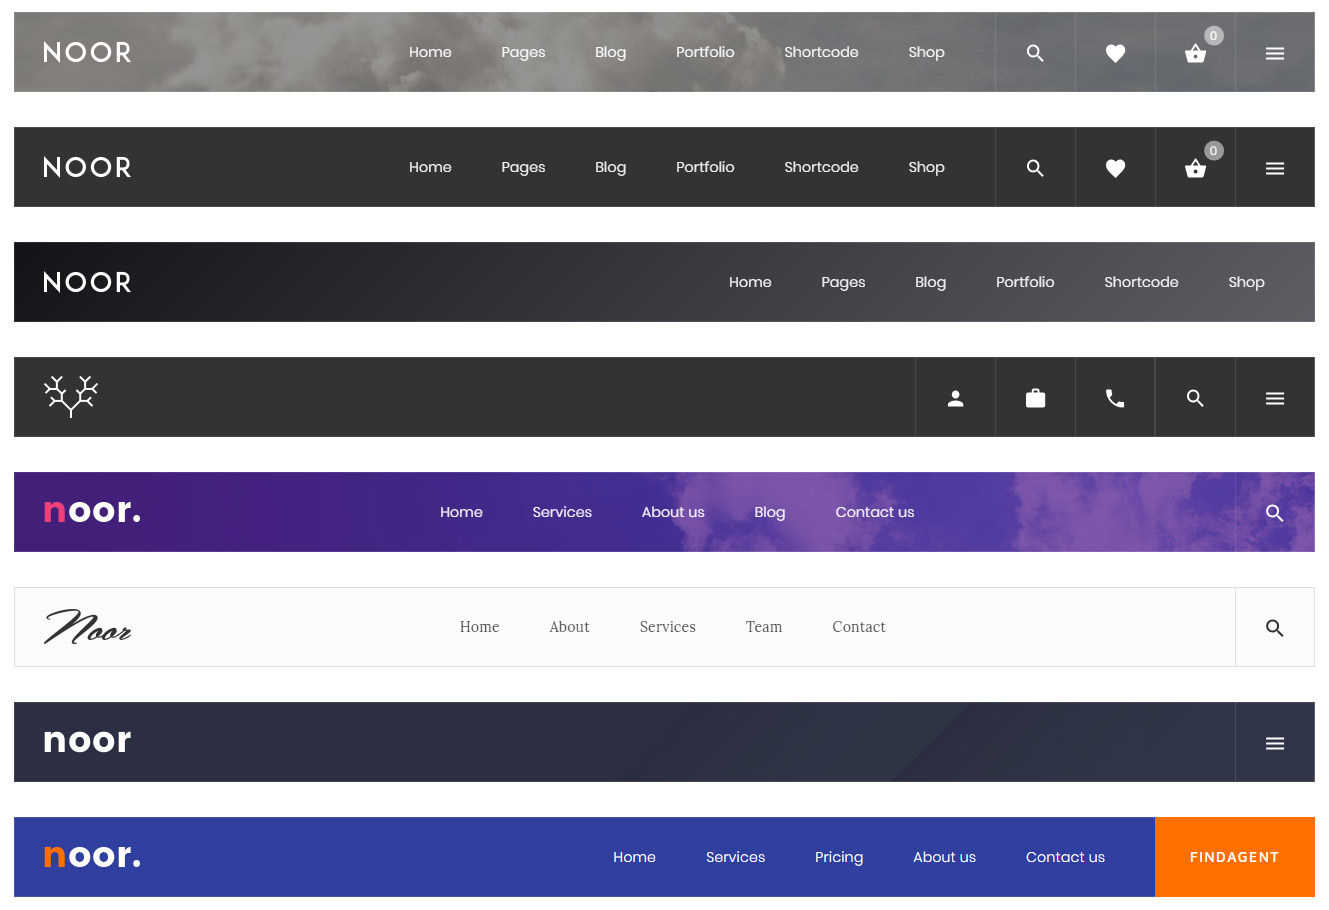
Top Header Layout #2
This layout includes your primary menu ( bottom left area ) and the Icon menu (bottom right area) and your logo (top left), a search icon (optional), a hamburger icon (optional). And contact information ( phone, email, address, date) at the top right area you can change icons and add language switcher, and a stylish CallToAction button ( optional ) that is the same color as the primary color you’ve set.

Top Header Layout #3
This layout features a centered logo and distributes your menu items evenly on each side. It is recommended to have an even number of menu items so the design is balanced. You can add a search icon (optional) and a hamburger icon (optional).

Top Header Layout #4
This layout includes your primary and icon menu items, your logo center aligned, and social icons on (top left) you can change it on Appearance > Customize > Advanced Settings > Social. You can change the logo background color.